Restoring a Reed Organ - Part 6 - Removing the Action from the Case
Having had a first look at what the upper and lower action look like in the case, we decided to remove it entirely:
The action rests on these two brackets, one of which (the treble side) has been shimmed at some point.
We carefully lifted it out and placed it on the floor:
We were now able to get a first look at the exhauster bellows, valves and straps.
Three of the four original leather exhauster valves are missing, and the fourth has been replaced by that denim/canvas material that covers the main reservoir. It is now clear why we couldn't get any sound out of the organ! I depressed the reservoir while it was on the floor and tried to play the keyboard (a real trick) and was finally able to get some sound, although the reservoir only stayed depressed for mere seconds.
Now, here is a look at the inside of the case with the action removed. That's Dad looking in...
There are two signatures chalked on: "Fred" & "Casey", or maybe it was "Fred Casey." Also note the strange little symbol (seen in the last post) which looks like some kind of stylized "R". Note sure what it might mean.
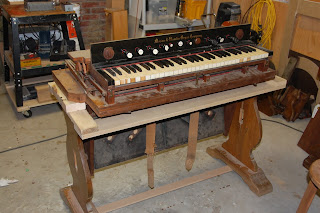
We decided that we didn't want to just leave the action on the floor, so we needed to construct some kind of frame for it so that we could work on it.
The legs of Mom's old dining room table came in handy!
More to come!


Comments